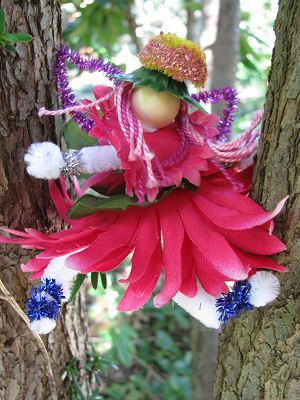
We made these Flower Fairies in early summer but I am just getting around to posting them. In the fall, we will make them with leaves.
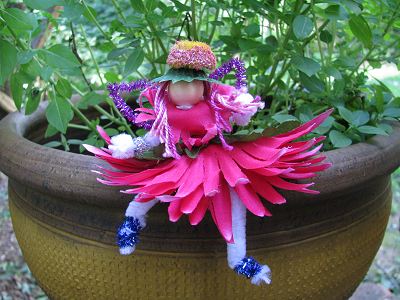
We had been wanting to make Flower Fairies for some time and I was inspired to finally give it a go when I saw these forest fairies at A New Bohemia during the Smart Summer Challenge.
Materials:
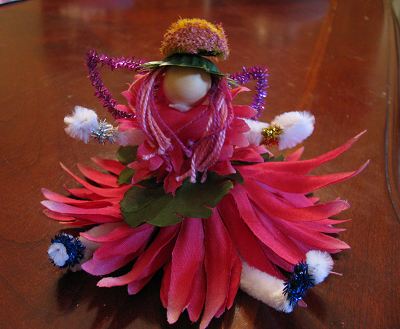
1. Bend a pipe cleaner in half and push the bent part through the wood bead so just a little loop is through the bead.
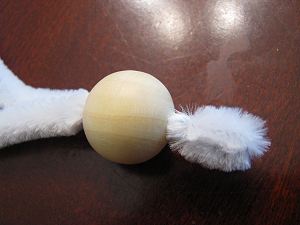
2. Roll up a loop of some embroidery floss and thread through the chenille stem loop. Tighten by pulling at the bottom of the chenille stem. Cut the loop of floss so that this will be the hair.
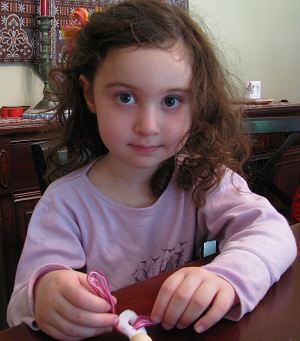
3. Pull apart the artificial flower and thread the layers of petals and leaves to form a dress.
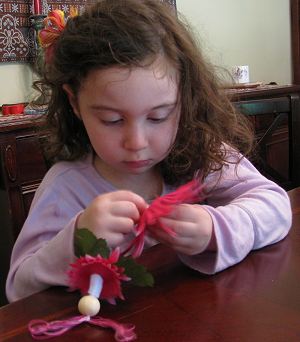
4. Take your second chenille stem to cinch the flower petals onto the first stem and to form the arms of the fairy.
5. Connect the ends of the metallic chenille stem to form a circle and twist in the middle (should look like an “infinity” loop). Wrap the middle around the body of the fairy once and twist to secure. Shape to look like wings.
6. Using glue dots or a hot glue gun or really strong tacky glue, you can glue either the smallest layer of petals, the sepal, or some other part of the artificial flower on top of the bead to form a hat or bonnet.
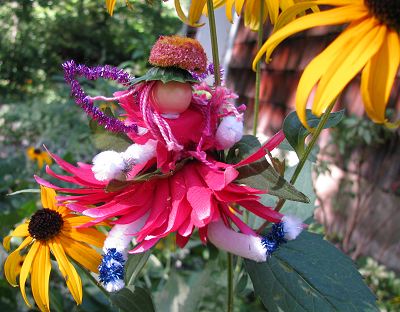
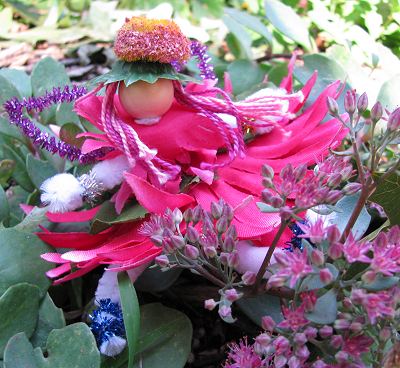
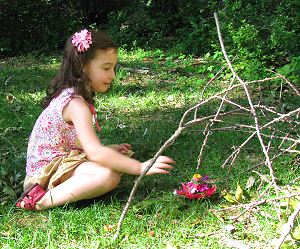
My daughter had lots of fun playing with her fairy around the garden and yard.
Educational Connections:
This one is really more about beauty and imagination than any other specific educational goals. However, you can definitely find some educational connections:

We had been wanting to make Flower Fairies for some time and I was inspired to finally give it a go when I saw these forest fairies at A New Bohemia during the Smart Summer Challenge.
Materials:
- 1 wooden bead
- artificial flowers
- 2 chenille stems
- 1 metallic chenille stem
- embroidery floss or yarn
- glue dots or hot glue gun
1. Bend a pipe cleaner in half and push the bent part through the wood bead so just a little loop is through the bead.

2. Roll up a loop of some embroidery floss and thread through the chenille stem loop. Tighten by pulling at the bottom of the chenille stem. Cut the loop of floss so that this will be the hair.

3. Pull apart the artificial flower and thread the layers of petals and leaves to form a dress.

4. Take your second chenille stem to cinch the flower petals onto the first stem and to form the arms of the fairy.
5. Connect the ends of the metallic chenille stem to form a circle and twist in the middle (should look like an “infinity” loop). Wrap the middle around the body of the fairy once and twist to secure. Shape to look like wings.
6. Using glue dots or a hot glue gun or really strong tacky glue, you can glue either the smallest layer of petals, the sepal, or some other part of the artificial flower on top of the bead to form a hat or bonnet.

My daughter had lots of fun playing with her fairy around the garden and yard.


Educational Connections:
This one is really more about beauty and imagination than any other specific educational goals. However, you can definitely find some educational connections:
- Science / Botany: Identify the artificial flower you are using. Find out what flowers grow near you.
- Science / Botany: As you separate the pieces of the artificial flower, identify the parts of the flower.
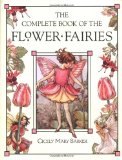
- Language Arts: Read The Complete Book of the Flower Fairies. Write your own poem for your flower fairy.
Комментариев нет:
Отправить комментарий