How to Make Flower Fairies
How to make Flower Fairies:
You Will Need: Klutz Fairy Kits, ~ OR ~Fairy Wire (link above), glue gun, glue gun sticks, wooden medium sized beads in skin tone colors, other beads, faux flowers, glitter glue, and embroidery thread in different colors.

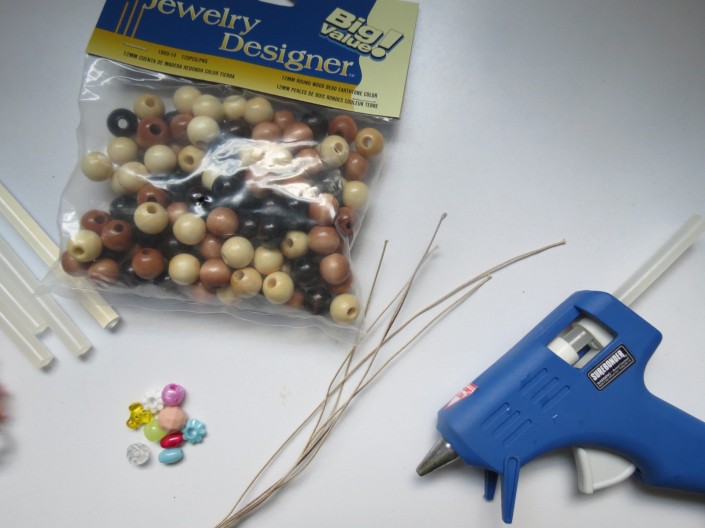
1. Cut the special fairy wire (link found above) into two peices: one 6 inches long and the other 2 inches. This will make the body. Fold the 6 inch peice in half. Place the 2 inch peice at the top of the 6 inch peice and wrap top of 6 inch peice around 2 inch peice. This will create the arms, legs, and base of head. (Use pictures below for help or refer to your kit’s instruction book). Using your hands or needle-nose pliers, twist ends of arms to form hands.

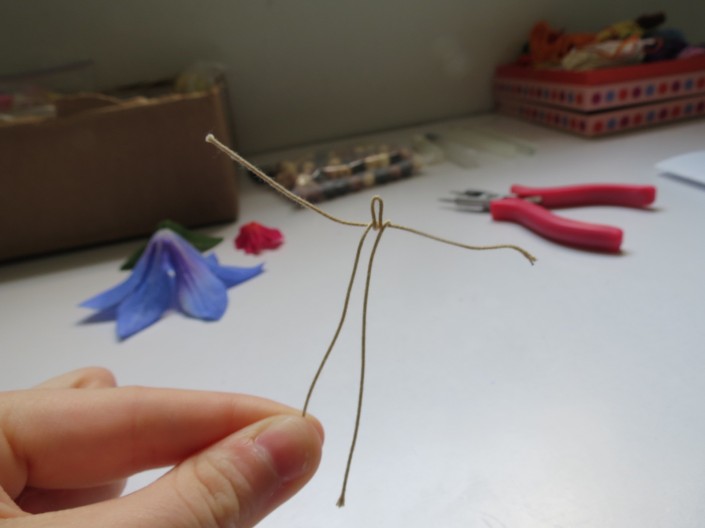
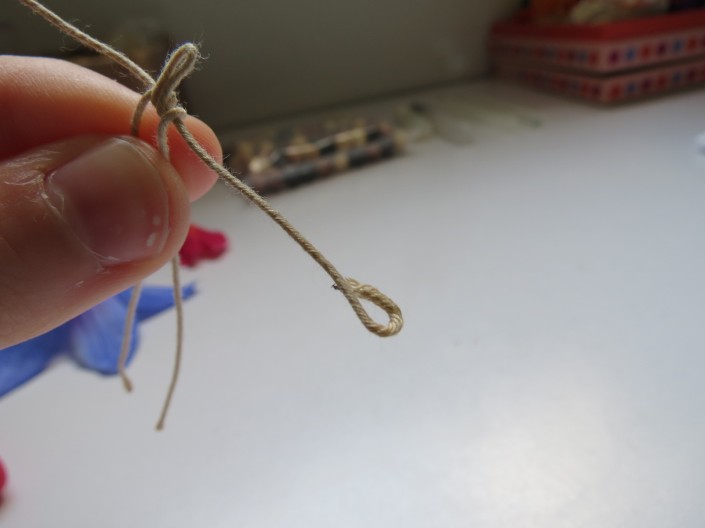
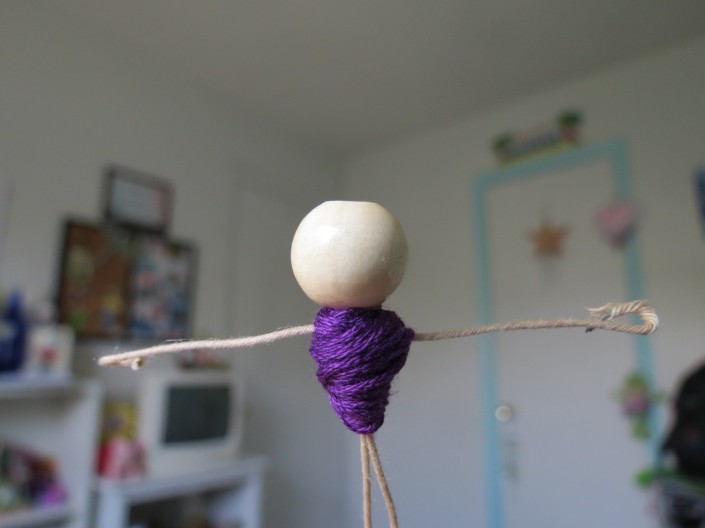
2. Using embroidery thread, wrap around “shoulders” and “torso” area of wire to create the top or shirt of the fairy. Wrap around until it is thick enough. Secure thread with glue or by tying a knot if possible. You can also use flower petals for a shirt like the ones that come with the kit.

3. Glue bead head onto head post above embroidery thread.
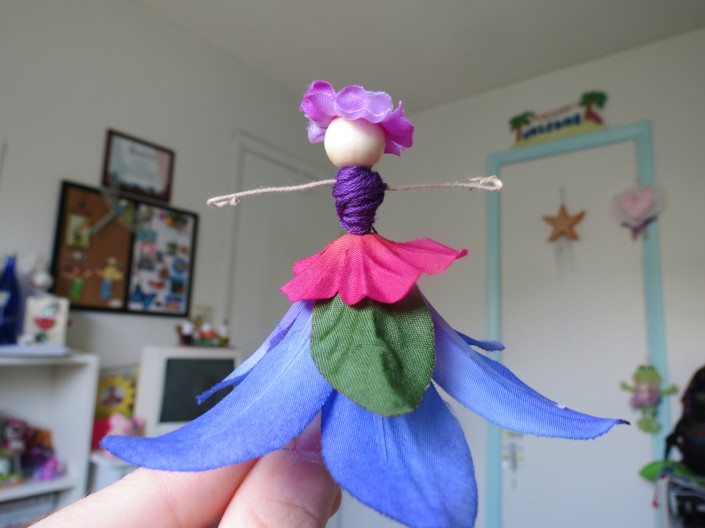
4. If you have the Klutz kit, your flowers will already be seperated and have holes in them. If you have bought faux flowers from the craft store, you will have to undo the stems in order to free the petals to use. They will already have holes in them, too. Pick out the flowers or leaves you want to use and slide the fairy’s wire legs through the holes of each one, until you have enough petals or are satisfied. Usually 3-4 flowers is enough for this size fairy. I like to pick out flower petals to match the fairy’s shirt, or pick flowers based on theme of fairy, such as “Rose Fairy.”

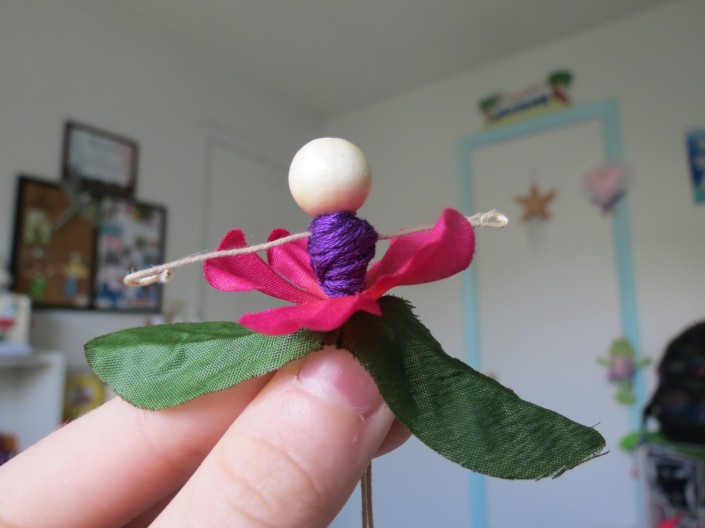

5. Once you have all of your flowers on, both the kit and myself use beads to keep the petals in place and from slipping off. Turn your fairy over, place some glue at the base of the last flower, slide on a small colored bead and push it into the glue. When you turn your fairy over, the petal “dress” should stay in place.

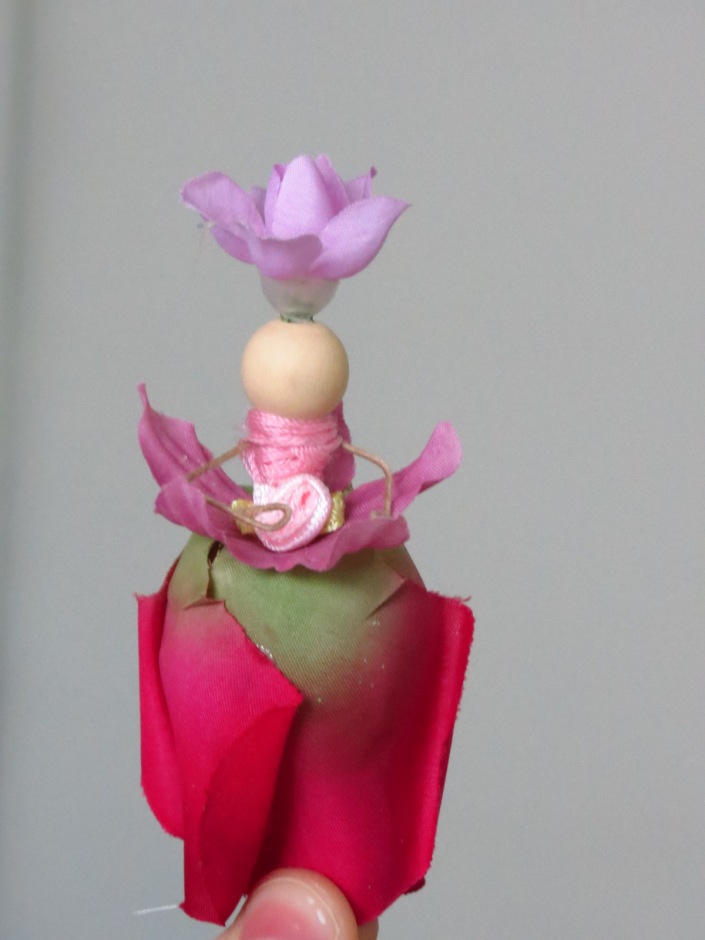
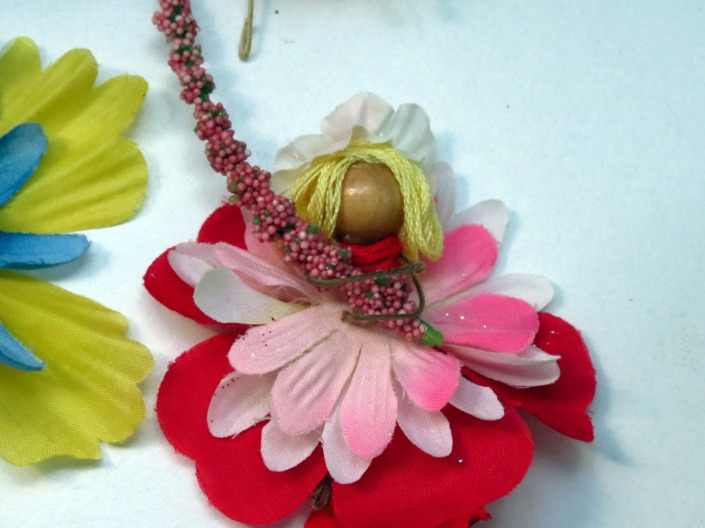
6. Now, twist the bottoms of the feet the same way you did for the hands. You can also add hair to the fairy’s head by using embroidery thread, or by placing a smaller flower on the top for a hat. The fairy can also have something to hold (like pictures below) if you have small flowers on stems, small berries, tiny craft birds, etc. I also like to use the glitter glue and rub a bit on the petals of the fairies to create a sparkle effect. I dont put any faces on my fairies, but you can put faces on yours using colored pencils or paints. And, there you have it! A cute little flower fairy. Use them as decorations or create cute fairy houses to put your fairies in!






Комментариев нет:
Отправить комментарий